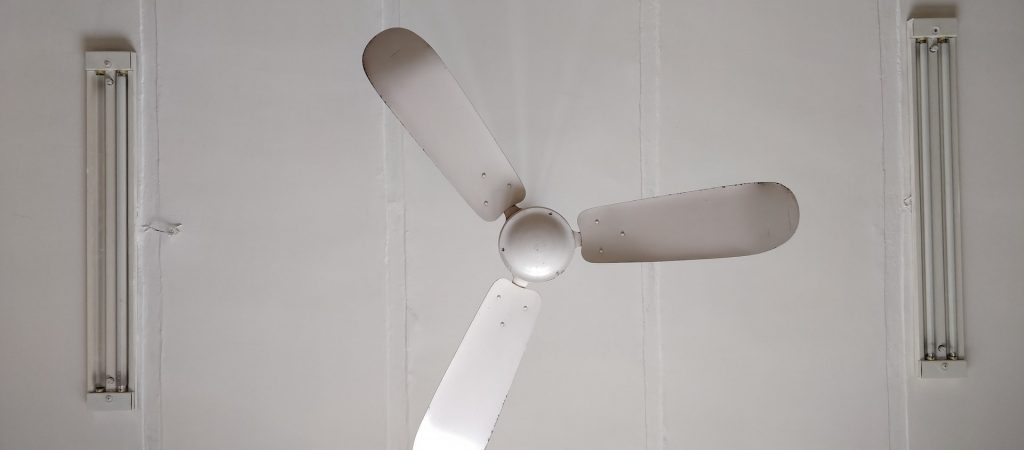
Installing a Ceiling Fan, Step by Step
Installing a ceiling fan shouldn’t be too hard for an able-bodied homeowner to tackle. All you need is to have the wiring in the place where you want to hang the fan, and if you already have a light fixture or an older fan in that spot, then it’s just a matter of swapping them out. Here’s what you need to do.
Make the Circuit Safe
Before you do work on any electrical circuit, you need to make it safe by turning off the power to it. Go to your breaker box and turn off the breaker that controls the circuit in the room where you’ll be working. If your breakers aren’t adequately labeled and you’re not sure which one controls what circuit, you might as well take the time now to figure it out. Make sure to test the circuit with a voltage tester or by flipping the light switch, or both, before you start work.
Take Down the Existing Fixture
The first step in installing a new ceiling fan is taking down the old light fixture or ceiling fan that was there. If it’s a ceiling fan you’re replacing, take it down one piece at a time – take off the blades, then the light fixture, then you can remove the fan motor.
Most light fixtures shouldn’t be that hard to take down. Once you’ve removed any shade or cover and taken out the bulbs, the screws that hold the light fixture in place should be obvious. Unscrew the light fixture from the electrical box and disconnect the wiring.
Give Your New Fan Proper Support
Ceiling fans are much heavier than light fixtures, so if you’re replacing a light fixture with a ceiling fan, you need to make sure your fan has the proper support in your ceiling. If you’re replacing an older ceiling fan, you may not have to install a fan brace and fan-rated electrical box, but you should make sure that the setup in your ceiling is appropriate for bracing a fan.
With the old fixture out of the way, you can check to see if the electrical box in your ceiling is rated to hold a ceiling fan and whether it is anchored to a ceiling joist. There won’t always be a joist running above the hole in your ceiling, but if there is, you should just anchor the fan directly to it. If there isn’t a joist, you will need a fan brace installed between the joists on either side of the hole, so it runs above the hole. Attach your new fan-rated electrical box to the fan brace. Pull the wiring from your house down into the electrical box. Wrap the end of the ground wire (which is green or bare) around the green ground screw inside the electrical box, leaving some of it hanging off the end so you can ground the fan later.
Put the Fan Motor Together
You’ll need to follow your fan’s instructions to put the fan motor together, but don’t worry – it shouldn’t require much assembly. You’ll probably have to attach the downrod to the motor housing, and pull the wiring through the downrod. There may also be a canopy you’ll have to put on the downrod.
Hang the Fan Motor
Before you hang the fan motor, you’ll need to find the ceiling mounting plate that comes with your fan. Attach it to the electrical box in your ceiling using the screws that come with it. Most of the time, there will be a hook on the ceiling mounting plate. You can use that hook to hold your fan motor while you’re connecting the wiring.
To connect the wiring, match the black wire in your ceiling to the black wire in your fan, the white wire to the white wire, and the ground wire to the ground wire. You should twist the ends of each wire together and cover them with wire nuts. If you are installing a ceiling fan with lights, you might need to wire up the light fixture the same way.
Once you have the wiring connected, you can put the fan motor in place. Usually, you will have to do this by seating the top of the downrod into the ceiling mounting plate in a ball-and-socket fashion. Then you can pull up the canopy to cover the mounting plate and secure that in position.
Add the Lights and Fan Blades
The fan blades should be installed evenly, so they’re all the same distance from the floor. Connect the light fixture and screw it in place and then add the light covers and bulbs. Congratulations – you now have a new ceiling fan!


Daily Newsletter
Subscribe to Jebiga for a dose of the best in gear, design, rides, tech and adventure.